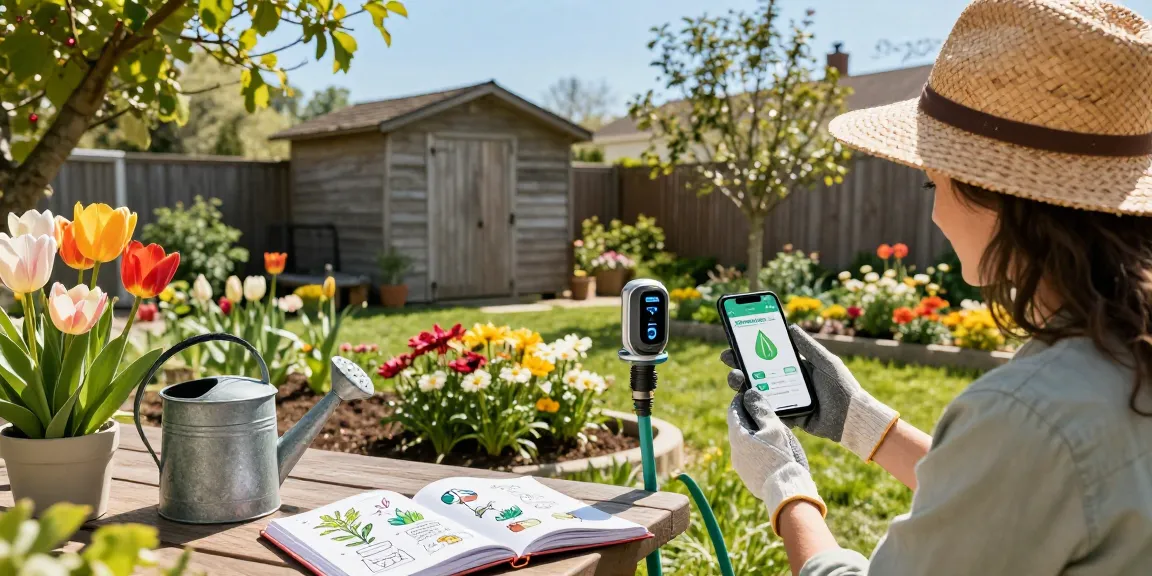
When Maria noticed brown patches forming in the middle of her 1/3-acre suburban yard after two weeks of hot, windy weather, she guessed she was either underwatering or just irrigating at the wrong time. Her neighbor's lawn looked fine, even though they both had similar grass types. Maria needed a practical, reliable plan she could actually follow between work, soccer practice, and weekend chores.
This article walks through common lawn watering challenges and pairs each with the right setup so you can follow a lawn watering schedule that actually works for your yard and your life. RainPoint acts as the scenario irrigation expert—matching the right tools (timers, drip kits, soaker hoses) to the problems real homeowners face.
Challenge: Small front yard with irregular routines — Solution: Mobile timers and short, deep sessions
Scenario: Tom has a compact 800 sq ft front lawn, lots of foot traffic from kids and a dog, and a busy schedule. He tends to water whenever he remembers, leading to shallow surface wetting or soggy spots. The result? Shallow roots and resilient weeds.
Why this fails: Short, frequent sprinkling wets the top inch of soil only. Roots stay shallow and the lawn can’t tolerate heat or drought. A reliable schedule for a small lawn should prioritize deeper, less frequent watering so roots reach moisture down 4–6 inches.
Recommended setup
- Install a simple, programmable sprinkler timer or use a portable sprinkler on a faucet timer.
- Run 2 to 3 sessions per week, each long enough to deliver about 1 inch of water total (see table below).
- Water early morning (before 9 AM) to reduce evaporation and fungal risk.
Practical example: If Tom’s pop-up sprinkler wets his lawn at 0.25 inches/hour, schedule four 15-minute runs spaced one morning every other day to reach ~1 inch per week. A WiFi timer such as the RainPoint model lets him program those runs from his phone and pause them during rain or high wind.
Lawn SizeTarget Weekly WaterTypical SessionsSmall (≤1,000 sq ft)1 inch2–3 sessions/weekMedium (1,000–5,000 sq ft)1–1.25 inches2 sessions/weekLarge (>5,000 sq ft)1–1.25 inches1–2 sessions/week with zones
Challenge: Large in-ground lawn with uneven coverage — Solution: Smart controllers and zoning
Scenario: The Parkers have a half-acre yard with clay soil and a mix of shade and full-sun areas. Their old timer ran the entire system the same length of time, leaving shady areas waterlogged while sunny spots went dry. They want a system that adjusts to each zone.
Why this fails: Different zones have different water needs and sprinkler outputs. A single fixed runtime wastes water and stresses parts of the yard. Zoning and a smart controller let you tailor runtimes by soil type, slope, sun exposure, and nozzle flow.
Recommended setup
- Divide the system into 4–8 zones by plant type and sun exposure.
- Use a WiFi-enabled smart timer to run shorter cycles for shady or well-draining zones and longer cycles for compacted clay or south-facing areas.
- Enable weather- and soil-moisture adjustments so the controller skips cycles after rain or during cool stretches.
Practical example: The Parkers reprogrammed their system so sunny lawns run two 20-minute sessions on Tuesday and Saturday, while shady zones get one 12-minute session midweek. According to EPA WaterSense, smart irrigation controllers can reduce outdoor water use by about 20% (EPA WaterSense), which for a typical U.S. household lawn can be thousands of gallons per year. A smart in-ground system paired with a WiFi timer from RainPoint can handle those zone-specific schedules automatically and save both water and money.
Challenge: Vegetable garden and narrow flower beds — Solution: Drip and soaker solutions for root-zone efficiency
Scenario: Priya grows tomatoes and herbs in a raised bed and has narrow perennial flower beds along the driveway. She used a hose and watering can, but overwatering caused early blight on tomatoes and washed mulch out of beds.
Why this fails: Overhead watering wets foliage (increasing disease risk) and wastes water through runoff. Root-zone systems like drip tubing and soaker hoses deliver water slowly to the root zone where plants use it best—especially useful for vegetables and densely planted flowers.
Recommended setup
- Use a complete drip irrigation kit for beds and raised boxes; place emitters near the root ball of each plant.
- For long, narrow beds, run soaker hose along the bed base under mulch to keep moisture in the soil.
- Program short, frequent runs in hot weather and longer, less frequent runs in cool seasons.
Practical example: Priya set emitters delivering 1 gallon/hour to each tomato plant and ran them for 1 hour every other morning during peak summer—about 3 gallons per plant per week—rather than soggy daily watering. If you want step-by-step help, check the RainPoint lawn page and follow a lawn watering schedule that actually works to adapt drip runtimes for different vegetables and bed types.
Challenge: Pots and containers on a busy porch — Solution: Self-watering and low-flow drip
Scenario: Dana has a collection of potted herbs and ferns on her apartment balcony. She forgets to water on work trips and frequently returns to wilted plants or soggy pots that smell moldy from overwatering.
Why this fails: Containers dry faster than in-ground beds and often get watered inconsistently. Equally, topping off without drainage control creates rot. A self-watering system or low-flow dripper provides steady moisture without daily attention.
Recommended setup
- For short trips, use self-watering inserts or capillary mats that maintain consistent moisture levels for several days.
- For permanent porch setups, a small drip line with micro-sprayers or 0.5–1.0 GPH drippers keeps pots evenly moist and reduces runoff.
- Combine with a simple timer so your system only runs during cool parts of the day.
Practical example: Dana combined a hands-off sub-irrigated planter for herbs with a tiny 12V pump and a RainPoint faucet timer for her hanging ferns. The result: even moisture, fewer trips to rescue distressed plants, and less fungal rot from overwatering.
How to pick runtimes and measure results
Scenario: After switching to better equipment, many homeowners still wonder how long to run each zone. The key is to measure how much water your system applies per hour and match it to the soil's infiltration rate so you avoid runoff while getting enough total weekly moisture.
Practical steps
- Place several straight-sided containers on the lawn and run a 15-minute sprinkler test. Measure depth in each container and average it.
- Calculate how many 15-minute cycles you need to hit ~1–1.25 inches per week (typical for many cool-season lawns). In hotter or drought conditions, adjust to local extension guidance.
- Use a soil probe to check moisture 4 inches and 6 inches down after watering. If the moisture only reaches 1 inch, increase session length or add cycles; if there’s puddling or runoff, shorten cycles and add soak breaks.
Real numbers: Many pop-up sprinklers apply between 0.1–0.3 inches per 15 minutes. So if your test shows 0.15 inches per 15 minutes, you'll need about 1 hour and 40 minutes total weekly run time (roughly 6 × 15-minute cycles) to reach 1 inch. University extension services often recommend 1–1.25 inches weekly for most turf types during active growth periods (check your local extension for species-specific guidance; for example, state university extension pages offer regionally tuned schedules). EPA WaterSense also notes that smart controllers can cut outdoor water use substantially, which helps when you adopt measured runtimes.
Try one change at a time—modify zone runtimes, then check results after two weeks. With the right combination of controller, zoning, and delivery method (sprinkler, drip, soaker, or self-watering), you can stop guessing and follow a lawn watering schedule that actually works for your yard’s size, soil, and schedule.